Screen Flow 2: Advance Screencast Productions
One or two new screen-capturing applications seem to come out every year. Even the latest version of QuickTime Player in Snow Leopard now contains a rudimentary screen recording feature.
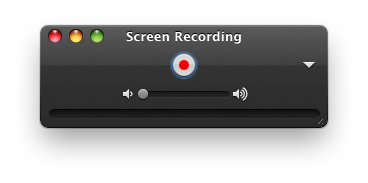
You simply open QuickTime Player, select File>New Recording and once you click the red record button, actions you perform on your desktop will be recorded full screen. Clicking the stop button in your Finder’s menubar will open and play the recording in QuickTime’s new clean interface. The file itself is saved by default in your default Movies folder. From there, you can export to iTunes (for iPhone/iPod, Apple TV and Computer size formatting), your YouTube or Mac Gallery account.
If you find yourself needing to do screen recordings on a regular basis, at a more professional level, you’ll quickly discover the limitations of the new QuickTime feature. For more advanced recordings, you’ll want to check out Telestream’s recently updated ScreenFlow 2.0. This version includes the option to also upload videos directly to YouTube. It has, among many other features, over a dozen 2D and 3D transitions, the ability to adjust clip speed during recording and editing, and audio ducking and detaching.
If you have experience with either Apple’s iMovie HD or the latest iLife ’09 version, you will find ScreenFlow pretty familiar. If you have no background with video editing applications, Telemstream stands out above the rest in offering really great introductory video tutorials, using its own application. Several other third-party YouTube tutorials can also be found.
Actually, though, ScreenFlow is fairly easy to use once you understand the functions. Similar to the QuicktimePlayer feature, ScreenFlow records full screen. You don’t have to crop or set up dimensions for the area of the screen before you begin recording. You simply hit the record button to get started, and pause or stop the recording at anytime. You can add additional recordings to existing ones. Audio can be captured during or after the video capture.
What makes ScreenFlow stand out is that you can crop in the area(s) of the full desktop recording that you want to keep. After the recording, the editing begins. Like the old iMovie, ScreenFlow contains a separate timeline area or tracks for your video and audio clips. In the timeline you can splice up clips, add transitions between clips, and drag images and audio files from the media properties window.

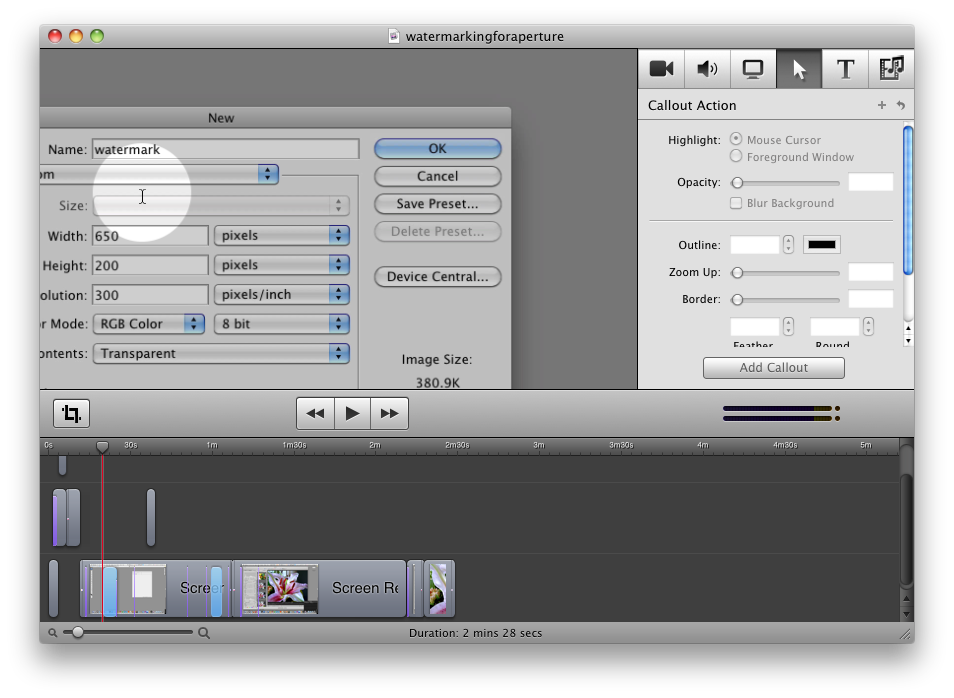
ScreenFlow‘s Callout feature is perhaps its trickiest and most unique feature. This feature simply allows you to highlight and direct the focus to any part of your screen capture. So for example, if you record actions of an entire application, but in some parts of the video you want to, say, zoom in on what you did in the menu bar of that application, you can simply create a callout that directs the viewers attention to that part of the screen. You can also turn your mouse actions into a highlighter. During the editing process, you can begin and stop these callouts wherever you like. This type of editing does require extra time and a little skill, but done effectively, it provides a professional touch to your productions.
Other screen recording applications have a similar follow-the-mouse feature, but in ScreenFlow you have much more control over what you choose to zoom in and crop out in a video. I actually find it creatively fun to edit screen recordings with this application. It’s nearly like editing a movie for smooth zooms, pans and transitions.
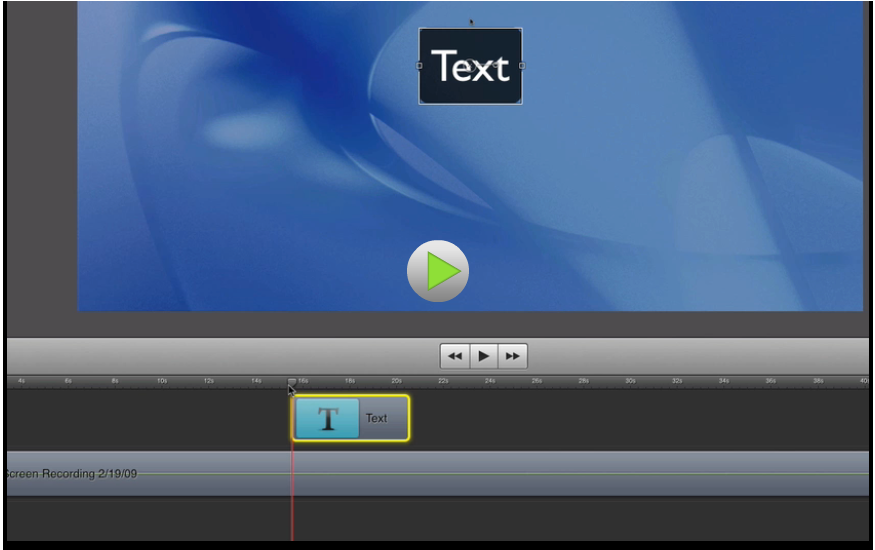
You can also add titles with customized zooming and panning effects, as well video captured outside of ScreenFlow, for a great picture-in-picture effect. This layered capability also means that you can add transparent logos or other types of overlays that you create say in Photoshop.
Edited productions in ScreenFlow can be exported to YouTube or customized for various other formats, including the iPhone and iPod.
I only have a few quibbles with the application. One of which is that it’s a little tricky to add and delete clips in the timeline, because when you do so, clips don’t snap back together. If you have two or more tracks, media clips can‘t be locked to one another, so when you delete a portion of a clip, other clips get out of sync. You have to drag and rearrange clips to where they should appear. Also, it would be practical to have a way to shrink the timeline and tracks vertically as you can do horizontally.
The price for ScreenFlow, $99, is a little steep, but if you want professional quality productions, the screen recording studio seems to be the best on the market. I’ve used several others, and while they are cheaper, they just don’t allow for the range and control available for editing in ScreenFlow.
 del.icio.us
 Digg
Digg Facebook
 Slashdot
 StumbleUpon

Comments
I will be happy to come across this publish invaluable for me, since it consists of lot of details. It’s my job to prefer to see the good quality content material which thing I found inside you publish.schuttingen
Great stuff from you, man. Ive read your stuff before and youre just too awesome. I love what youve got here, love what youre saying and the way you say it. You make it entertaining and you still manage to keep it smart. I cant wait to read more from you.This is really a great blog.
quilt cover sets